
 Via Mia Pizza
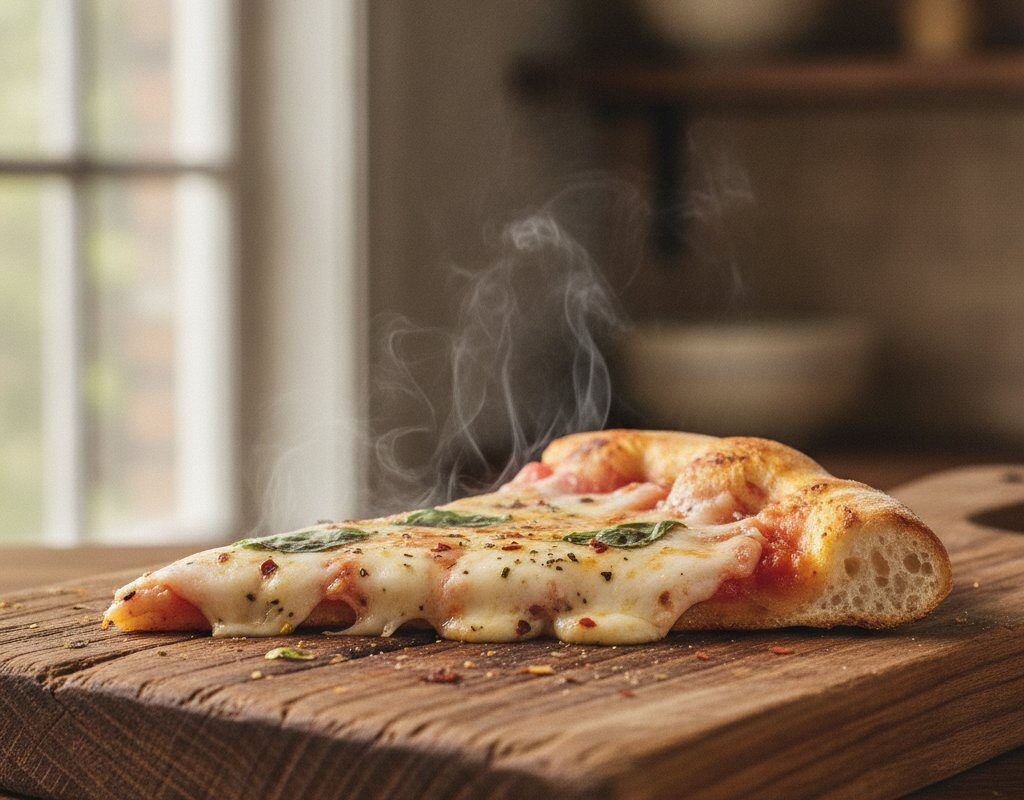
Reheat Pizza tips start with a simple rule: treat leftovers like fresh Pizza. A chilled slice can taste just as good as the original if you apply the Right heat, timing, and gear. Below we give a concise answer, three solid reheating methods, a storage cheat sheet, and safety reminders so flavor and food safety stay in balance.
Reheat Pizza Tips: Which Method Works Best?
Pick a method based on what you want most—crispy crust, quick melty cheese, or the least cleanup. The table below lays out the tradeoffs so you can pick the technique that fits your kitchen and schedule.
| Method | Crispiness | Time | Equipment |
|---|---|---|---|
| Oven | Very high | 8‑12 min | Baking sheet or Pizza stone |
| Cast‑iron skillet | High on bottom, soft on top | 4‑6 min | Skillet + lid or foil |
| Microwave | Low | 1‑2 min | Microwave‑safe plate |
Oven Method – Step‑by‑Step
- Preheat a conventional oven to 375°F (190°C). That temperature balances a crisp crust with a gentle cheese melt.
- Put a sheet of parchment or a lightly oiled Pizza stone on the middle rack. The stone soaks up surface moisture and helps prevent sogginess.
- Slide the cold slice onto the surface. If you’re reheating several, leave a small gap between slices.
- Bake for 8‑12 minutes. Check at 8 minutes—the cheese should be bubbly and the crust golden.
- Use tongs to remove the slice, let it rest 30 seconds, then dig in.
The oven gives you the closest experience to the original bakery‑fresh crust.
Cast‑Iron Skillet Method – Step‑by‑Step
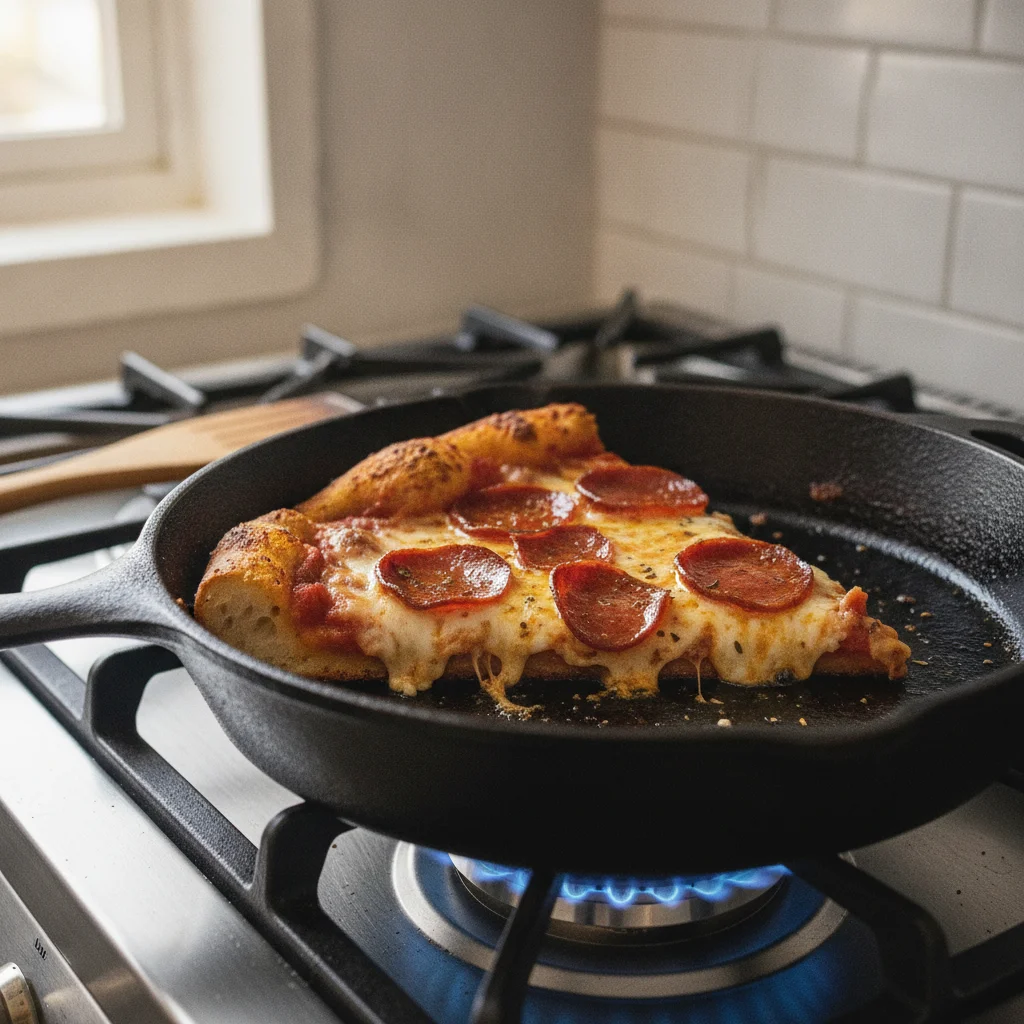
- Warm a dry 10‑inch cast‑iron skillet over medium‑low heat for about 2 minutes. You want even, gentle heat.
- Place the slice crust side down. No oil—Pizza fat makes a natural nonstick surface.
- Cover with a tight lid or a sheet of foil. Trapping steam melts the cheese without drying the top.
- Cook 4‑6 minutes. Peek after 3; the crust should be firm and the cheese glossy.
- Remove the lid, slide the slice onto a plate, and serve Right away.
The skillet restores a crunchy bottom while keeping the top moist—a practical winner on busy nights.
Microwave Method – Step‑by‑Step
- Put a paper towel on a microwave‑safe plate. The towel soaks up excess moisture that makes crust rubbery.
- Set the slice on the towel, then loosely cover with a second towel. This creates a mild steam environment.
- Microwave on high for 45 seconds. For a thick or heavily topped slice, add 10‑second bursts until the cheese just melts.
- For crisper edges, transfer the slice to a hot skillet for 30 seconds after microwaving.
- Eat while hot—microwave‑reheated Pizza is best Right away.
When speed beats perfection, the microwave delivers a hot slice in under two minutes.
The Food Science Behind Reheating Pizza
Knowing what changes in the fridge explains why cold Pizza feels different from fresh. As the Pizza cools, starches in the dough retrograde—gelatinized starches recrystallize, squeeze moisture from the crumb, and make the dough firm and crumbly.
Meanwhile, sauces and wet toppings shed moisture into the crust, and cheese fats solidify. If you blast the slice in a microwave, water molecules heat unevenly, steam forms, and the starch network breaks down into a gummy, chewy mess. Dry heat in an oven or skillet breaks down those starch crystals again, driving off surface humidity and restoring a crisp, blistered crumb while keeping the interior tender.
Cheese needs patient heat. Natural dairy fats melt roughly between 90°F and 130°F, while proteins will tighten and release oils if you overcook them. Gentle, even heat lets mozzarella and blends regain silkiness without separating into an oily pool or burning at the edges.
Hypothetical Reheating Scenarios: Worked Examples
Styles, thickness, and toppings all change how a slice behaves. Timers alone won’t save you. These scenarios show how to adapt techniques so you avoid burnt edges and icy centers.
Scenario A: The Heavy Multi-Topping or Thick-Crust Slice
Say you have a dense, thick slice loaded with mushrooms, onions, peppers, and meats that sat overnight. Those toppings hold water, and the dough takes longer to heat, so pan frying alone can char the bottom before the center warms.
- Target outcome: Warm interior toppings, melted top cheese, browned base.
- Strategy: Two‑phase skillet steam or a moderate oven bake.
- Execution: Either prewarm the slice in a 350°F (175°C) oven for 10 minutes, tented lightly with foil to stop the meats drying, then remove the foil for the last two minutes to let moisture escape and the cheese bubble; or place the slice in a medium‑low skillet for two minutes, drip three drops of water onto the pan away from the crust, clamp a lid on for two minutes so steam reheats the toppings without sogging the crust.
Scenario B: The Ultra-Thin, Crispy Crust Slice
Think of a paper‑thin slice with just sauce and cheese that went limp after sitting in an airtight container.
- Target outcome: Snappy, cracker‑like crunch in under five minutes.
- Strategy: Short, high‑heat dry skillet contact.
- Execution: Heat a heavy pan over medium until a drop of water sizzles. Lay the slice directly on the dry pan. Don’t cover it at first—leave it uncovered for two minutes so moisture vents. Check the bottom with a spatula; once brown speckles appear, kill the heat, rest a loose piece of foil over the top for 60 seconds to finish the cheese, and move the slice to a wire rack or cutting board so condensation won’t soften the crust.
Scenario C: The Frozen Emergency Slice
Picture pulling a slice straight from the freezer with no overnight thaw.
- Target outcome: Safe internal temperature, unburned crust, no icy spots.
- Strategy: Low‑and‑slow convection or conventional oven approach.
- Execution: Put the frozen slice on a cold tray lined with parchment and slide it into an unheated oven. Set the oven to 350°F (175°C). As the oven warms, the slice thaws evenly. Once the oven hits temperature, leave the slice in for another five to seven minutes to finish heating without burning the crust.
Common Leftover Pizza Mistakes and How to Avoid Them
Even experienced cooks run into soggy bottoms or leathery toppings. Avoid these mistakes to keep leftovers tasting fresh:
- Leaving Pizza in the cardboard delivery box: Cardboard breathes in fridge moisture and soaks up fats. Slices left there dry out across the cheese surface and stale faster than those sealed in containers.
- Stacking slices on top of each other: Oily bottoms stick to the cheese and sauce beneath. Separate stacked slices with parchment or wax paper.
- Microwaving at 100% power: Blasting cold Pizza makes water flash into steam and ruins the gluten quickly. If you need a microwave, try 50–60% power and extend time so the slice warms more evenly.
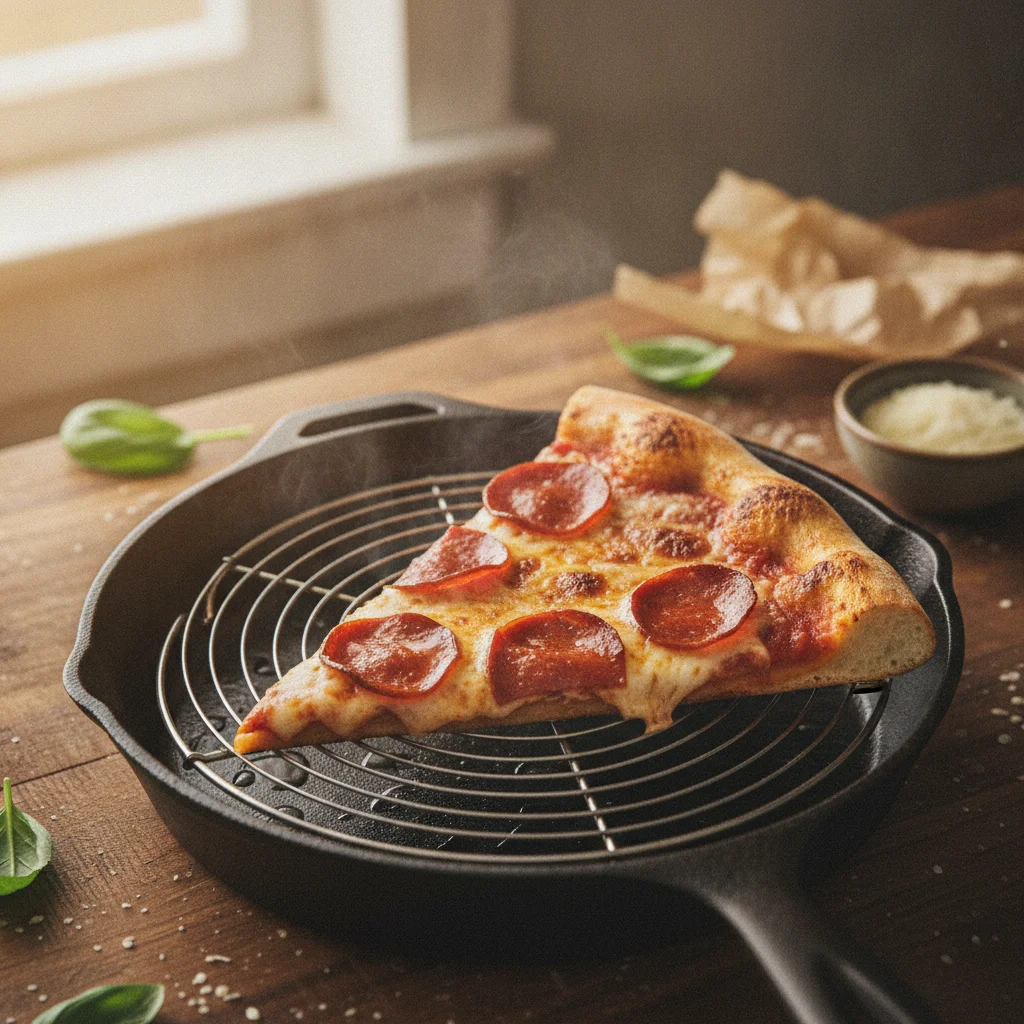
- Placing a hot slice onto a cold ceramic plate: A blistering slice on a room‑temperature plate causes immediate condensation under the crust and kills the crunch. Let the slice rest on a cutting board or wire rack for 30–45 seconds before plating.
Pizza Storage Guide – Keep Your Slices Safe
Store Pizza to preserve flavor and limit bacterial growth. Do this Right after your meal:
- Cool Pizza to room temperature for no more than two hours.
- Wrap each slice tightly in plastic wrap or place them in an airtight container.
- Store in the refrigerator at 40°F (4°C) or lower. According to the USDA FSIS reheating guidelines, leftovers should be consumed within three to four days.
- For longer storage, freeze slices on parchment, then move them to a zip‑top bag. Frozen Pizza keeps up to two months.
- When thawing frozen slices, move them to the fridge overnight; avoid room‑temperature thawing to reduce risk.
Store Pizza properly and your next reheating session starts with flavor, not a food‑safety problem.
Frequently Asked Questions
Below are the most common queries we hear from Pizza lovers in San Jose.
Can I Reheat halal‑certified Pizza without losing its freshness?
Yes. The same methods described above work for any halal‑certified Pizza, including Via Mia’s specialty pies.
How long can Leftover Via Mia Pizza sit in the fridge?
Up to four days, as long as it’s stored in an airtight container and kept at 40°F (4°C) or lower.
Is the microwave ever a good choice for reheating Pizza?
It’s the Right call when you need a quick bite and can trade a little crust crunch for speed.
Should I use foil when reheating Pizza in the oven?
Foil can trap steam and soften the crust. Use a Pizza stone or a bare baking sheet for the crispiest result.
What internal temperature should reheated Pizza reach for safety?
Leftover foods should reach an internal temperature of 165°F (74°C) measured with a food thermometer to ensure potential bacteria are neutralized.
Can I use an air fryer to Reheat Pizza slices?
Yes. Preheat the air fryer basket to 350°F (175°C) and cook a slice for three to four minutes. The air fryer crisps the bottom while melting the cheese quickly without drying the sauce.
How do I Reheat Pizza with delicate toppings like fresh basil or greens?
Remove fresh herbs, arugula, or tomatoes before reheating the base. Once the slice is warm, put the greens back on so they keep their flavor and texture.
Where can I find the full Via Mia Pizza menu?
Visit the Via Mia Pizza menu to see all halal‑certified options.
Ready for a fresh slice? Order Via Mia Pizza online or stop by the Camden Avenue location for a hot, hand‑tossed pie that doesn’t need reheating.